
Instructions for swapping keycaps and switches on a mechanical keyboard
In today's digital era, mechanical keyboards have become the choice of more and more people. Especially for custom mechanical keyboard enthusiasts, swapping the keycaps can make the keyboard color scheme or pattern more to your personal liking. Moreover, over time, the keycaps of mechanical keyboards may become worn out or damaged, and this is when the keycaps need to be replaced.
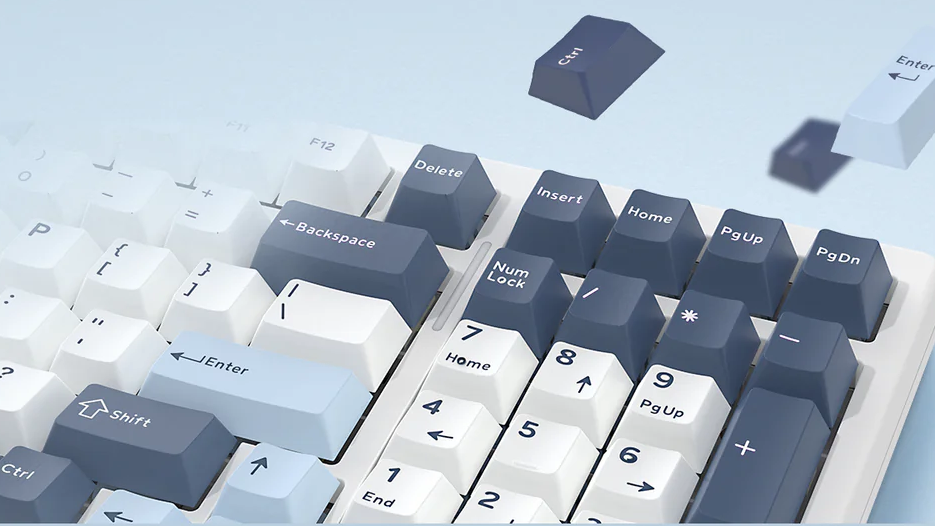
Swapping keycaps and switches on a mechanical keyboard is a straightforward process if you have the right tools and a bit of patience.
Here’s a step-by-step guide for both tasks:
Tools Needed:
Keycap Puller: A wire or plastic tool used to remove keycaps.
Switch Puller (optional for hot-swappable boards): A tool used to pull out switches from a hot-swappable keyboard.
Soldering Kit (for non-hot-swappable boards): If your board isn’t hot-swappable, you’ll need this to desolder and resolder switches.
Tweezers: Helpful for handling small parts.
New Keycaps or Switches: Ensure compatibility with your keyboard.(Note: Since the heights of our keycaps are compatible, normal keycaps with a cross on the back of the keycap can be adapted to our keyboards. For those who are more cautious, you may choose to consult a keycap vendor to see if they are compatible with our keyboards.)

1. Swapping Keycaps
Step 1: Remove the Keycaps
Turn off your keyboard to prevent any accidental keystrokes or damage.
Use a keycap puller. Insert the puller over the keycap and gently pull upward.
If a key is particularly tight, wiggle the puller slightly to loosen it. Repeat this for all keycaps you want to change.

Step 2: Clean the Keyboard
After removing the keycaps, you may want to clean the keyboard base. Use a brush or compressed air to remove any dust or debris.
Step 3: Install New Keycaps
Align the new keycap with the switch stem.
Press down firmly until you feel the cap securely attach to the switch.
Repeat this for all new keycaps.

2. Swapping Switches
There are two types of mechanical keyboards:
Hot-swappable: Allows you to change switches without soldering.
Non-hot-swappable: Requires desoldering the switches from the PCB.
The main advantage of hot-swappable keyboards over non-hot-swappable keyboards is their flexibility and convenience, so hot-swappable has become the choice of most people nowadays. So the swapping switches steps we explain today are mainly for hot swappable keyboards.
Step 1: Remove the Keycaps
Follow the instructions in the “Swapping Keycaps” section to remove the keycaps.
Step 2: Remove the Switches
Use a switch puller. Insert the prongs on either side of the switch.
Gently squeeze the prongs and pull the switch straight up. If the switch feels stuck, check if the puller is positioned correctly.

Step 3: Install New Switches
Align the new switch with the socket on the PCB. Make sure the pins are straight.
Gently press down until the switch is firmly seated in the socket.

Step 4: Replace the Keycaps
After replacing all desired switches, follow the steps in the keycap section to replace the keycaps.
Final Checks
Test the Keyboard: After swapping keycaps or switches, test your keyboard to ensure all keys work as expected.
Adjust as Needed: If a key doesn’t work or feels loose, recheck the installation of the switch or keycap.
By following these steps, you can easily customize your mechanical keyboard with new keycaps or switches!
